
In this article, we'll illustrate how to set up Coinbase Wallet. Further, we are going to explore the features and fundamentals of the Coinbase Wallet extension and mobile application. We’ll provide a step-by-step guide for installing and creating a new wallet both as a browser extension and a mobile app. In addition, we’ll cover how to import an existing wallet and how to connect Coinbase Wallet with the Coinbase exchange using the mobile app.
For readers who would like an in-depth guide to creating an account with the centralized exchange from Coinbase, see our Crypto for Beginners course at Moralis Academy! Here, we cover everything from creating an account and navigating the Coinbase app to storing funds securely offline. Moreover, to discover the safest way to enter the crypto realm today, check out Moralis Academy – the leading Web3 and blockchain education suite in the world! Now, without further ado, let's kick off our "how to set up Coinbase Wallet" journey by exploring this excellent multi-asset crypto wallet!
Exploring Coinbase Wallet
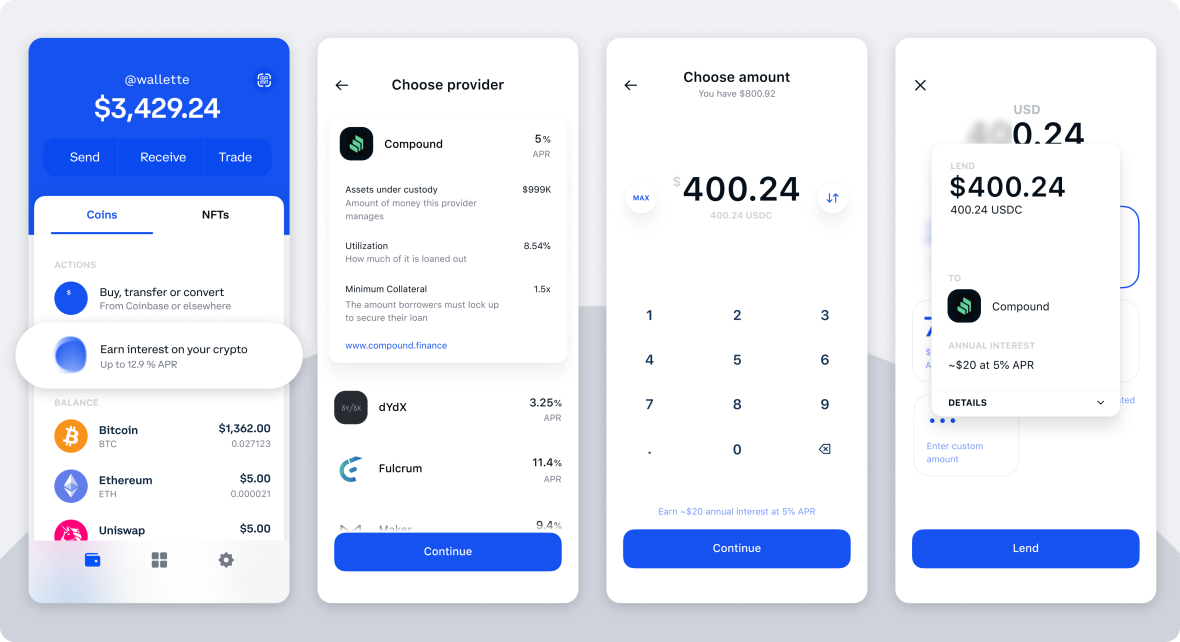
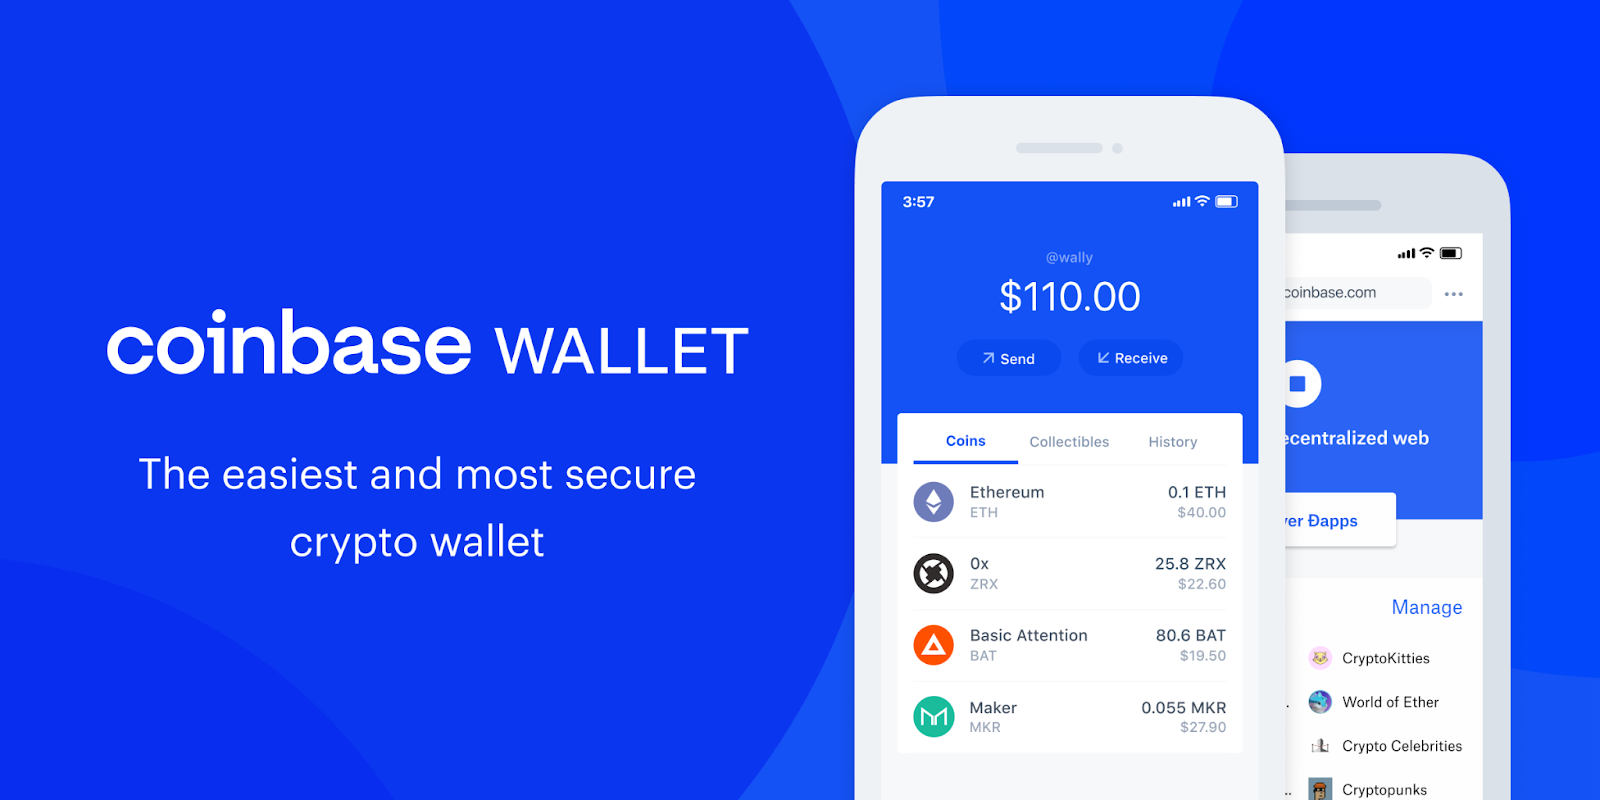
Coinbase Wallet is a multi-asset crypto wallet providing a non-custodial service complementing its centralized exchange (CEX) service, Coinbase. Offering cryptocurrency and non-fungible token (NFT) storage compatibility with more than 44,000 different assets, Coinbase Wallet is one of the fastest-growing wallet extensions in the US. Furthermore, Coinbase Wallet is far more than simply a Web3 browser and mobile wallet. It provides an all-in-one place for users to buy, sell, and trade cryptocurrencies, NFTs, and explore the Web3 dapp browser. As such, users can participate in DAO (decentralized autonomous organization) voting events, play-to-earn gaming applications, and earn APY on crypto assets.

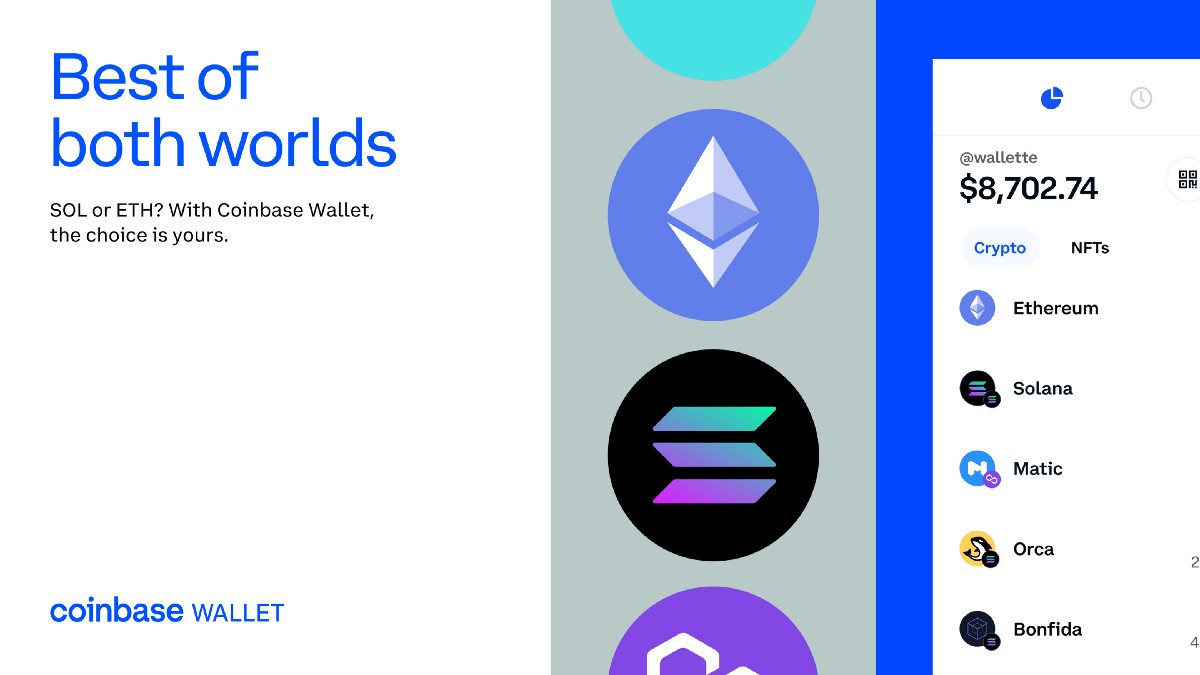
As a full self-custody service, users have full control and access to their funds at all times. Coinbase Wallet provides a simple and intuitive user interface (UI) to navigate interactions with Web3 services. Thus, it is becoming a valuable onboarding tool for newcomers to the crypto industry. Furthermore, Coinbase Wallet supports Ethereum and numerous EVM-compatible blockchains, such as Avalanche, BNB Chain, and Polygon, to name a few. In addition, users can interact with one Coinbase Wallet account across multiple devices. Users can download and interact with Coinbase Wallet on the Chrome web browser and a mobile application on Android and iOS smartphones.
Also, developers can seamlessly integrate Coinbase Wallet into their blockchain applications using a few lines of code. Plus, by integrating the project, developers’ applications will gain exposure to the Coinbase ecosystem comprising 89 million users across 85 countries.
How Does it Compare to Other Crypto Wallets?
In 2022, Coinbase Wallet received an award for the “Best Crypto Wallet [for Beginners]” by media outlets including CNET, Mashable, and Money.com. Coinbase prides its non-custodial wallet for supporting all EVM-compatible layer-1 and layer-2 networks, with the option of custom networks. In addition, users can adjust gas costs with the ability to speed up and cancel transactions. Plus, Coinbase Wallet is familiarizing users with the concept of transacting with usernames, including ENS (Ethereum Name Service) domain name compatibility. Also, users can store their non-fungible token (NFT) assets conveniently next to their cryptocurrency assets in one place.
While all these features are beneficial, many other Web3 wallets can offer these services. However, the connectivity capability to the Coinbase exchange and mobile dapp browser is what sets Coinbase Wallet apart from other Web3 wallets. Further, the app presents users with a straightforward user experience (UX) and frictionless compatibility with the hardware wallet from Ledger.
How to Set Up the Coinbase Wallet Extension
This step-by-step guide shows readers how easy it is to install the Coinbase Wallet extension. Below, we will demonstrate how to create a new wallet and set up a new wallet from scratch. Also, we’ll look at external wallet compatibility and options to import funds from another existing wallet. All you'll need is ten minutes of your time, plus having a pen and paper handy.
Step 1)
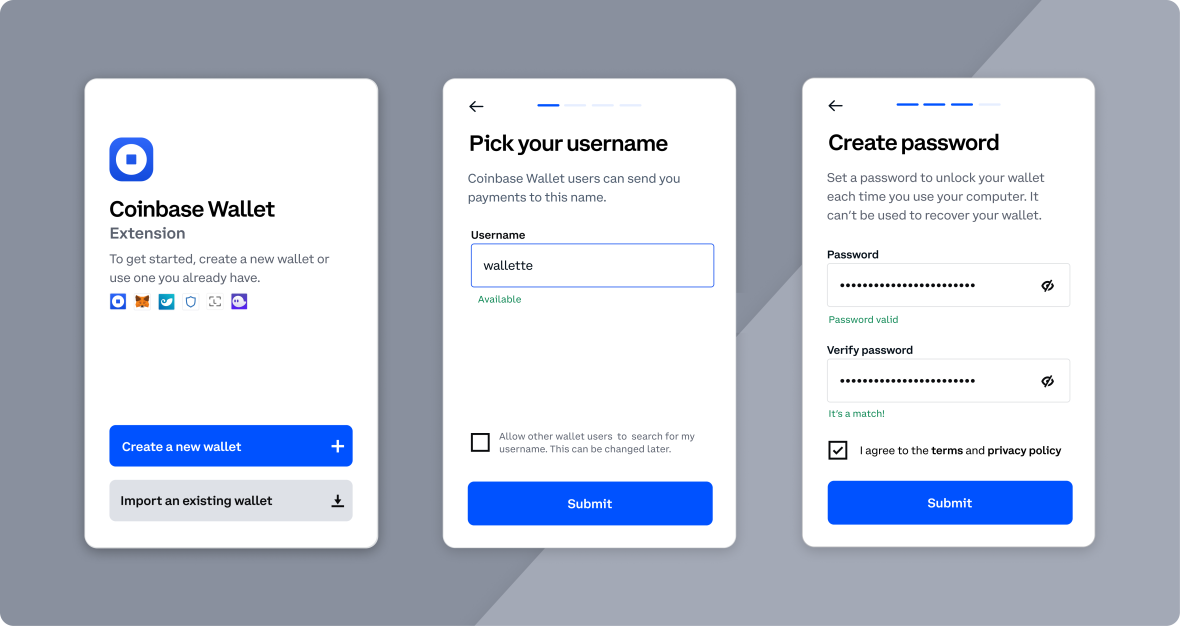
The first thing you'll need to do is install the Coinbase Wallet extension. You can do so by searching for “Coinbase Wallet” in Google Chrome's web store. Alternatively, you can click on the “Download” buttons from the Coinbase Wallet website.
Step 2)
Once the installation is complete, the site will prompt you to create a username. Usernames are akin to Ethereum Name Service (ENS) domains, masking a long string of random digits with a human-readable and rememberable name. Also, other users can search Coinbase Wallet and send funds to you using your chosen username. Choose wisely since this cannot be changed once confirmed.
Step 3)
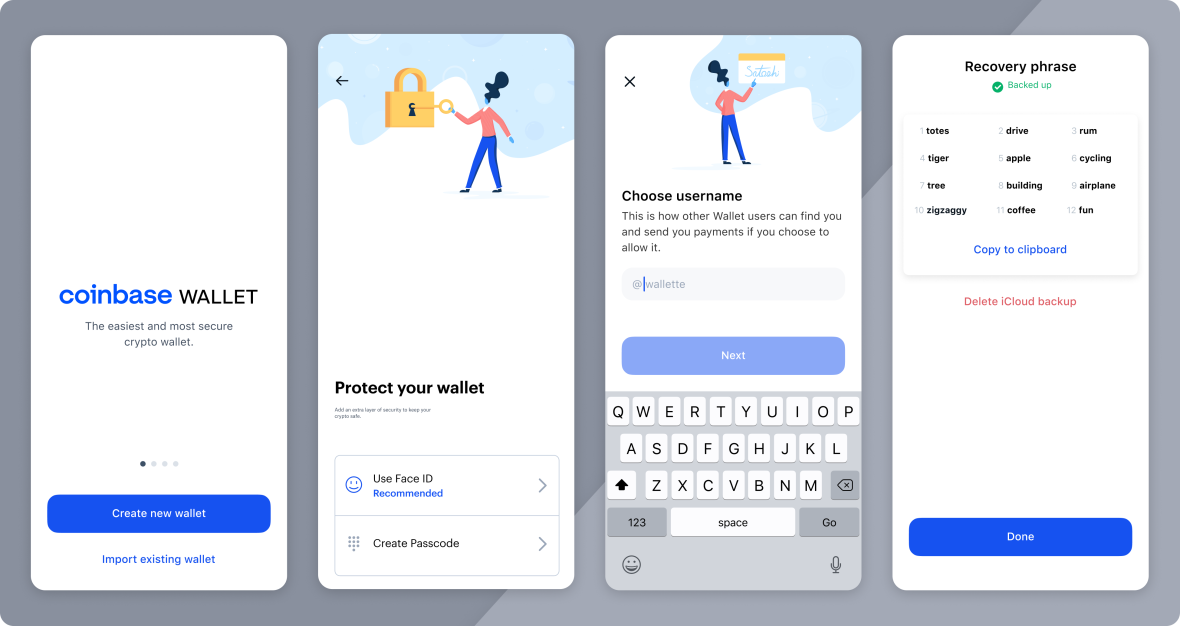
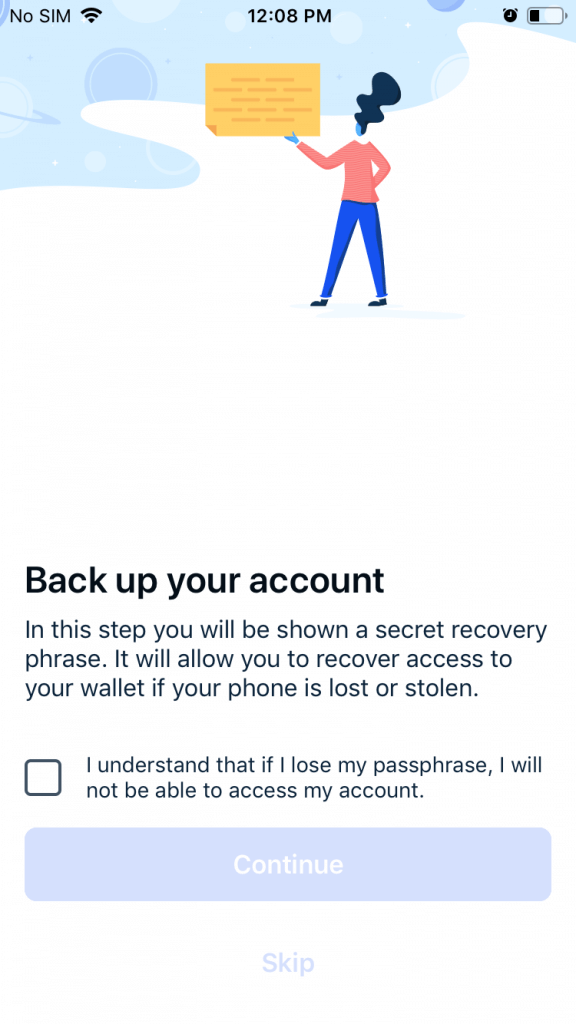
The next stage is critical to the security of your funds. After choosing a username, you will need to backup the 12-word recovery phrase. The recovery phrase allows you to access funds in the wallet from any device anywhere in the world. Also, Coinbase nor any other individual or party can retrieve lost recovery phrases. Therefore, users must checkmark the agreement box stating, "I understand that if I lose my recovery phrase, I'll lose all the crypto in my wallet".
You can copy the recovery phrase to paste into an alternative document. Alternatively, the most secure way of backing up the phrase is by writing it down on a piece of paper or stamping the phrase onto a piece of metal. Make sure the words match the sequential order they appear.
Step 4)
After backing up your phrase and selecting "Continue", you will be asked to verify that you have saved the phrase. You will need to confirm the phrase before clicking on "Submit". Now is the ideal time to ensure your recovery phrase remains in a highly secure place.
Step 5)
Finally, following confirmation of the recovery phrase backup, users will need to create a password for the wallet. You will need to type in the password twice before checking the terms and conditions box. In short, this means users accept sole responsibility for their funds and agree that Coinbase Global, Inc., and its brand associates, accept no liability for loss of funds.
Click on "Submit", and you’re done! The following page will prompt users to pin Coinbase Wallet to their browser extensions. Clicking on the Coinbase Wallet icon will open up the wallet, which will display three view options on the menu bar. From here, users can add funds, view the transactions history, and explore the settings options.
Importing Another Wallet to Coinbase Wallet
Another option when setting up a Coinbase Wallet is to import another wallet using an existing recovery phrase. Coinbase Wallet operates such that it facilitates an additional channel for managing funds with zero impact on the existing wallet. This means users can trade and transact with the same set of funds from two different wallets on different applications. Plus, transactional history will appear in both wallet providers.
The list of wallets that are portable and compatible with Coinbase Wallet includes:
- Phantom
- Solflare
- Ledger
- MetaMask
- Trust Wallet
Each wallet has a slightly different way in which to connect. As such, there is a convenient guide on the Coinbase Wallet website to assist users. In addition, this includes showing users how to connect with other existing Web3 wallets.
Coinbase Wallet enables portability with recovery phrases but not with passwords. Each wallet provider requires users to create a specific password. As a result, passwords are not transportable or usable with other wallets. However, this can act as an additional security layer when users have different passwords protecting the same funds. In a similar fashion to the security phrases, Coinbase Wallet cannot recover any lost passwords.
How to Set Up Coinbase Wallet on Mobile
For mobile-based users of Web3 applications, Coinbase Wallet is a convenient self-custodial option. Moreover, it offers a simple three-step process for connecting with the centralized exchange (CEX) from Coinbase. Plus, the wallet application makes it super easy to share its user addresses between platforms and applications securely.
Step 1)
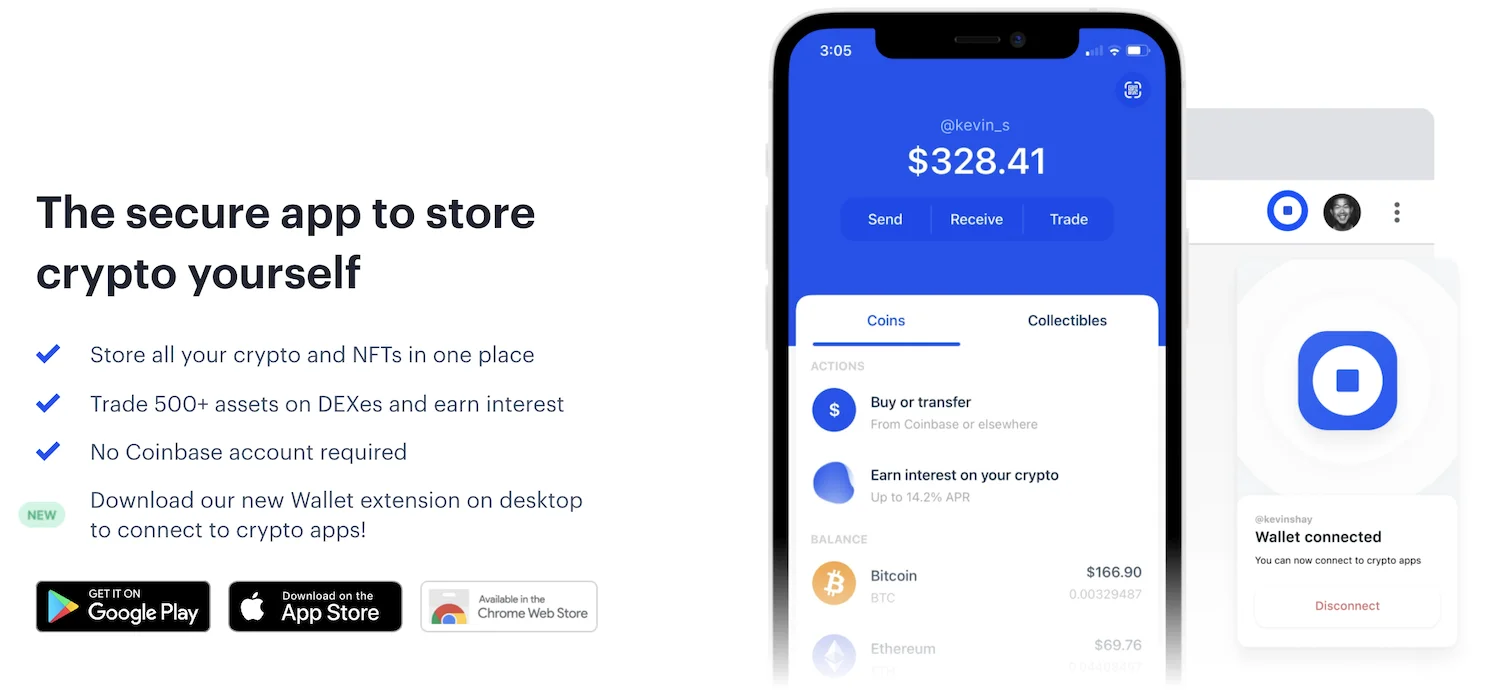
The first step is to head to your phone’s native app store. Coinbase Wallet is available to download on Google Play for Android users and Apple's App Store for iPhone users. Open the app, which will present you with two options: "Create new wallet" or "Import existing wallet". To continue with the setup process, select "Create new wallet".
Step 2)
Next, the app will ask you to confirm your preference for restoring the wallet’s recovery phrase. For Android users, it will present the option to restore with Google Drive or manually with a recovery phrase. For iPhone users, the alternative to a recovery phrase is to backup the wallet’s keys to iCloud. Opting to manually backup the wallet with a recovery phrase offers the most security.
After confirming this, the app will take you to the “legal stuff” page, asking users to read and agree to the terms and conditions of use. This includes the Privacy Policy and Terms of Service conditions.
Step 3)
The third step is when you can decide what your username should be for your Coinbase Wallet username. Note that you cannot adjust the username once you decide, so choose carefully! Furthermore, after entering your new username, the app will prompt you to set privacy preferences surrounding your username. You can set your username as public, allowing anyone to search and send funds to you using just your username. Or, you can keep your username private, and it won’t appear in the public search domain.
However, it is worth noting that all transactions are operating on a public blockchain. Therefore, it is publicly available and easy to trace any transactions. To understand on a deeper level how this works, see our Blockchain & Bitcoin Fundamentals course at Moralis Academy. In that course, we cover all the basics of blockchain to gain specialized knowledge in cutting-edge technology in a simple way that's easy to follow. Check out the world’s largest online Web3 development and education platform, Moralis Academy, today!
Step 4)
Step four allows users to increase the safety of their funds by adding an additional layer of security. This includes a pin passcode and biometric authentication. For iOS mobile users, the app will prompt the option to use FaceID. Moreover, Android users can opt to use the fingerprint biometric security feature.
Step 5)
The final step is to create a backup recovery for the Coinbase Wallet app. At this point, your wallet is technically set up and available with the option to perform a backup later. However, as this step is vital to the security of assets, it is paramount that users take the extra two minutes to complete a security backup.
The app will present a list of twelve words as the wallet's unique recovery phrase. Furthermore, users can choose to backup this phrase with Google Drive, iCloud, or backup manually using a piece of paper (most secure). Either option will take users to a confirmation page to verify that the recovery phrase is backed up. Congratulations, your mobile Coinbase Wallet is now all set up and complete!
For users who choose to perform a backup of the recovery phrase later, they can do so at any time in the “Settings” section. In that section, there will be a yellow exclamation mark prompting users to complete the recovery backup, either manually or via iCloud or Google Drive. Plus, users can opt for both for extra security. Moreover, completing a recovery phrase backup with Google Drive or iCloud will require users to create an additional password.
Connect with Coinbase App
Another advantageous feature of Coinbase Wallet is the frictionless connection with the Coinbase exchange app. Pairing the accounts can be done in three simple steps. To join Coinbase Wallet and Coinbase exchange accounts, users will first need an account with the Coinbase exchange.
Step 1)
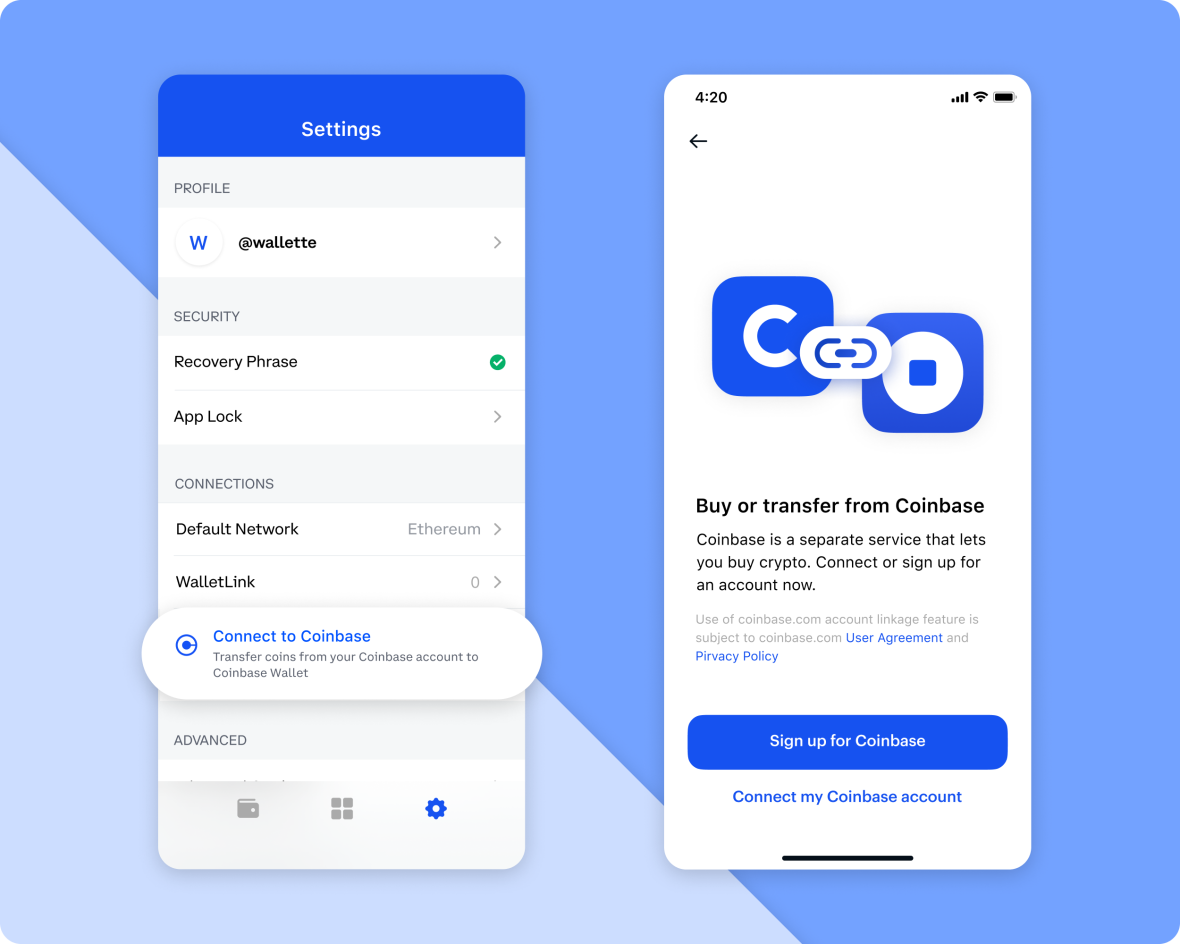
On the Coinbase Wallet homepage - select "Transfer coins". This brings up a choice between "Buy or Transfer from Coinbase" and "Transfer from elsewhere". Select the top option to transfer from Coinbase.
Step 2)
This will lead to a page prompting confirmation to connect the accounts. Linking Coinbase Wallet with Coinbase.com will also tie your Coinbase exchange identity with the non-custodial wallet. Select "Connect to Coinbase" to agree to the terms and conditions to move forward.
Step 3)
The final page confirms the connection between the two Coinbase accounts, “ready to transfer coins”. The wallet accounts are now verified, and users can choose to "Start transfer" or "Transfer later". Clicking on "Start transfer" will automatically transfer funds across from your Coinbase exchange account to the Coinbase Wallet mobile app.
How to Share Your Wallet Address
In the top right-hand corner, there is a mini QR code icon. Clicking on this button will bring up options to share your Coinbase Wallet address in numerous ways. Users can choose to:
- Copy their ETH address to the clipboard (long string of random digits)
- Copy username
- Scan a QR code display
Exploring How to Set Up Coinbase Wallet - Summary
If you have been following along carefully, you will now know how to set up the Coinbase Wallet browser extension and mobile app. As one of the fastest-growing, non-custodial Web3 wallets, Coinbase Wallet complements the centralized crypto exchange services Coinbase offers. As the largest crypto exchange in the world (in terms of users), Coinbase is assisting in welcoming blockchain novices to a decentralized ecosystem with the familiar tools of a centralized service.
Coinbase Wallet is compatible with over 44,000 different crypto assets, including cryptocurrencies and non-fungible tokens (NFTs). In addition, the wallet offers a Web3 browser service as a gateway to an abundance of Web3 applications. This includes play-to-earn gaming platforms, staking, and yield-generating protocols. Moreover, the project offers a simple and easy-to-use UI to navigate the wealth of utility within the app.
To learn more about the latest industry projects, check out our Moralis blog and Moralis Academy blog for ongoing updates in crypto! For example, why not read our “Polkadot vs Cardano”, “Exploring ApeCoin (APE)”, or “Crypto Backed by Gold” articles next? Alternatively, read our “Why to Learn Web3 Development” article if you’re considering a career in blockchain. This applies to non-developers as well! If you want to go full-time crypto, our Blockchain Business Masterclass course can help you get started! Kickstart your blockchain career with Moralis Academy today!


