
Crypto mining can be profitable for those with access to cheap and sustainable electricity. However, the recent price fall for crypto mining components such as graphics cards is spurring a wave of cryptocurrency mining rig builds. So, if you’re among the many people wondering how to build a crypto mining rig, read on!
In this article, we’re going to dive deep into the world of cryptocurrency mining. We’ll discuss some of the different types of mining, the expenses involved, and how to build a crypto mining rig yourself from components you can buy online. Also, we’ll explore the factors that play into mining profitability.
Moralis Academy is the ultimate Web3 and blockchain education platform online. If you want to become a blockchain developer, but have no coding experience, check out our JavaScript Programming for Blockchain Developers course. This course teaches students how to build a decentralized exchange (DEX) on Ethereum from scratch. Also, this course is the perfect starting point for anyone considering building a Web3 development portfolio. In addition, save our “Why to Learn Web3 Development” and “Rust & Solana” articles for later reading! Join our community of over 30,000 students and kickstart your blockchain education with Moralis Academy!
What is Cryptocurrency Mining?
Cryptocurrency mining is the process by which new crypto enters circulation. In the context of Bitcoin, miner nodes across the network compete to solve a complex mathematical puzzle. The first miner to solve the puzzle earns the right to validate a transaction and append it to the blockchain. When they do this, they receive newly minted Bitcoin (BTC) in the form of block rewards.
Furthermore, there needs to be a framework set in place for all miners and nodes across a blockchain network to agree on the validity of transactions. This is where a consensus mechanism comes in. Bitcoin uses the proof-of-work (PoW) consensus mechanism. In this scenario, the “work” is undertaken by mining rigs in the form of energy expenditure. Accordingly, PoW mining can be expensive and unfriendly to the environment.
Many blockchain networks are opting for a proof-of-stake (PoS) consensus mechanism to combat this. This mechanism relies on validators staking a native cryptocurrency to secure the network rather than on energy expenditure. Despite this, PoW is still an extremely popular type of mining. Save our “Blockchain Sustainability” article to learn more.
What You’ll Need to Construct a Rig for Crypto Mining
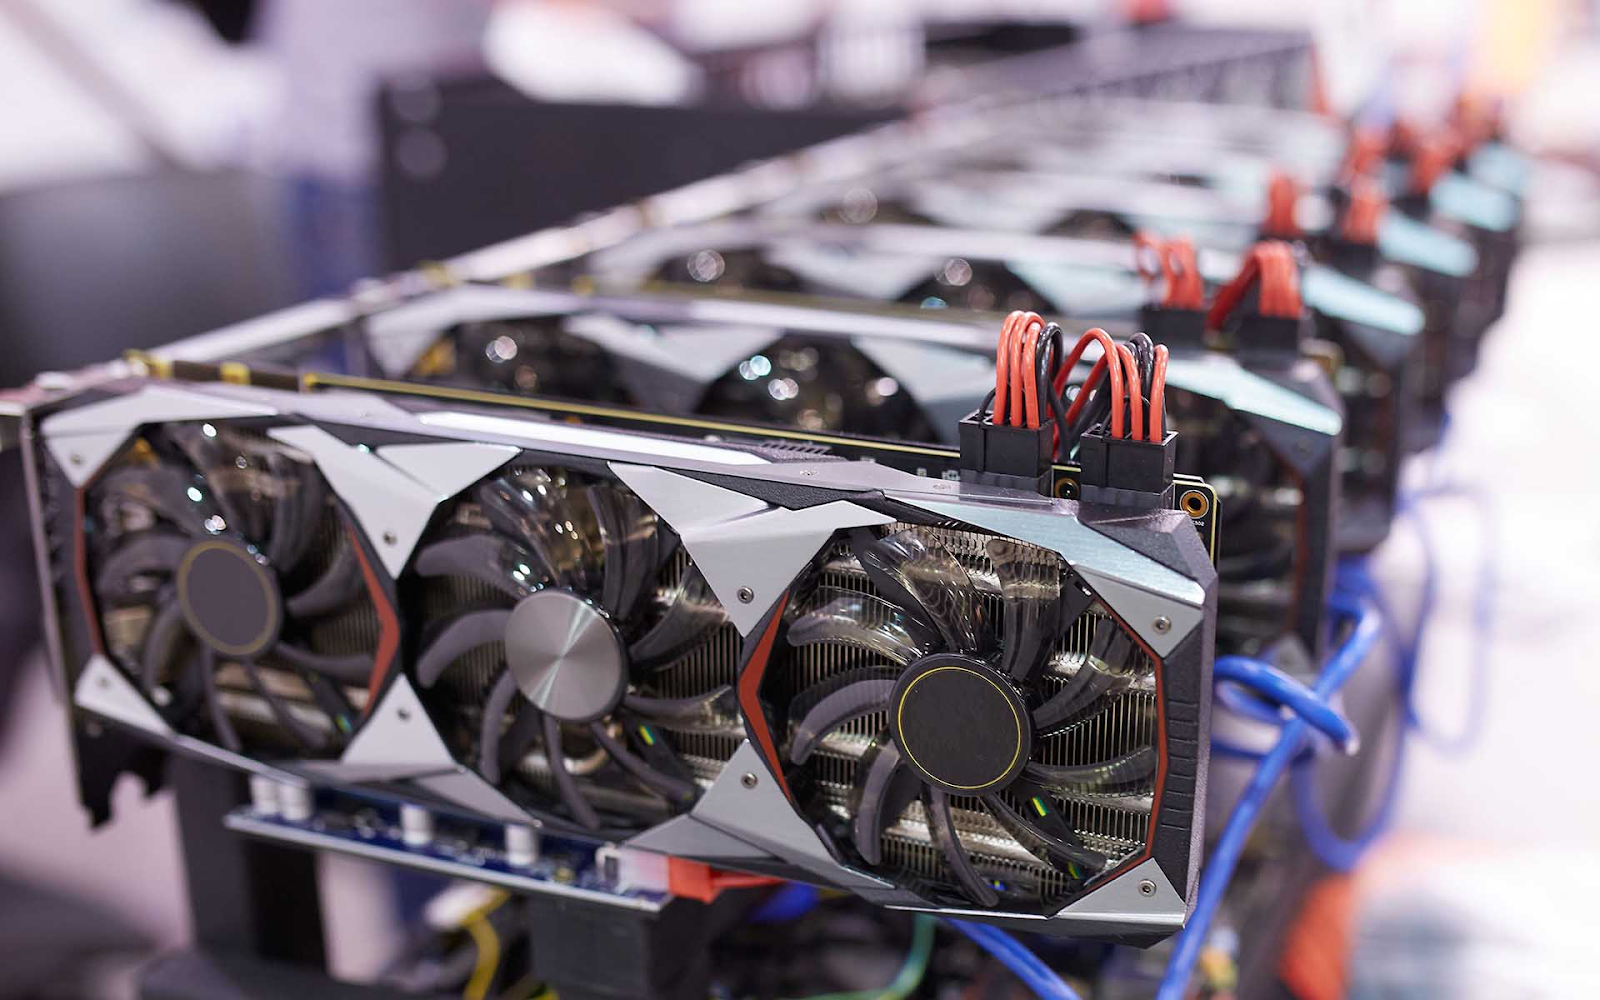
There are numerous ways to build a crypto mining rig. Some mining setups are specific to certain cryptocurrencies, hashing algorithms, and consensus mechanisms. However, we’re going to show you how to build a crypto mining rig that you can use to mine dozens of cryptocurrencies, including Bitcoin (BTC) and Ethereum (ETH). Before we get started, let’s take a look at the components you’ll need to build your mining rig.
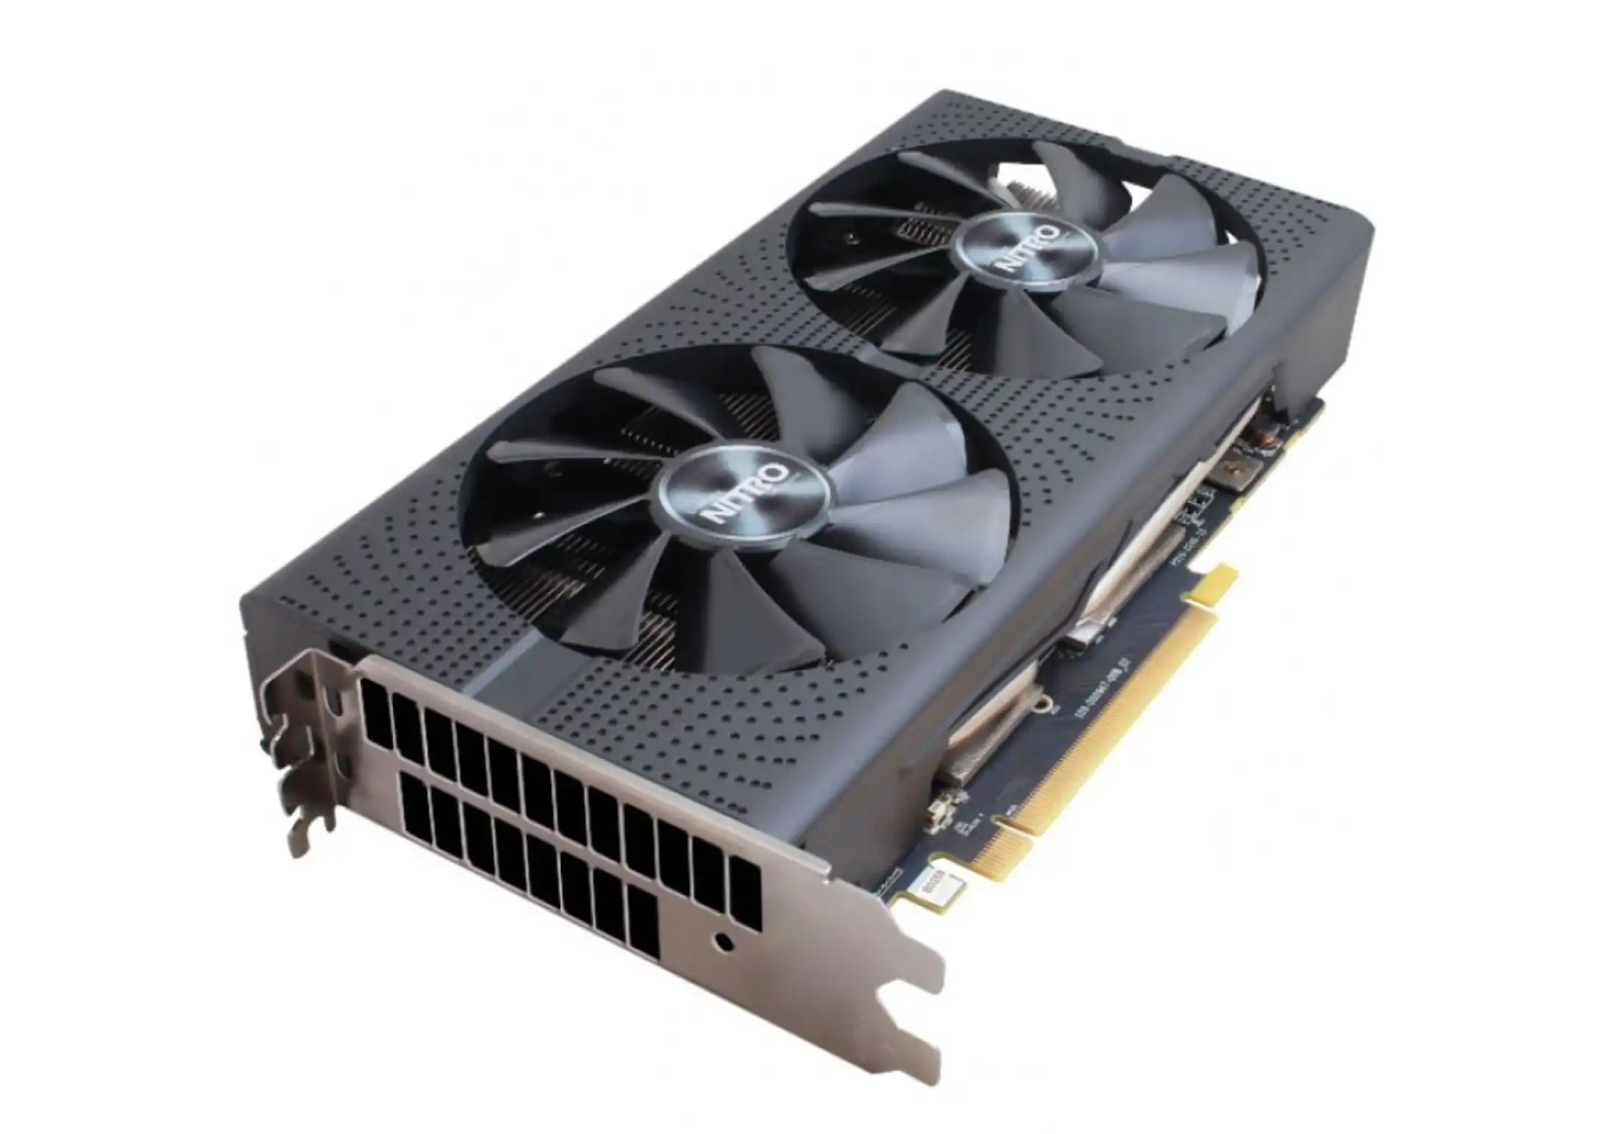
GPU
First, you need a graphics processing unit (GPU). A GPU is a processor used in computers. It was originally designed to speed up the rendering of graphics. However, it has multiple use cases, including machine learning, video editing, gaming applications, and cryptocurrency mining.
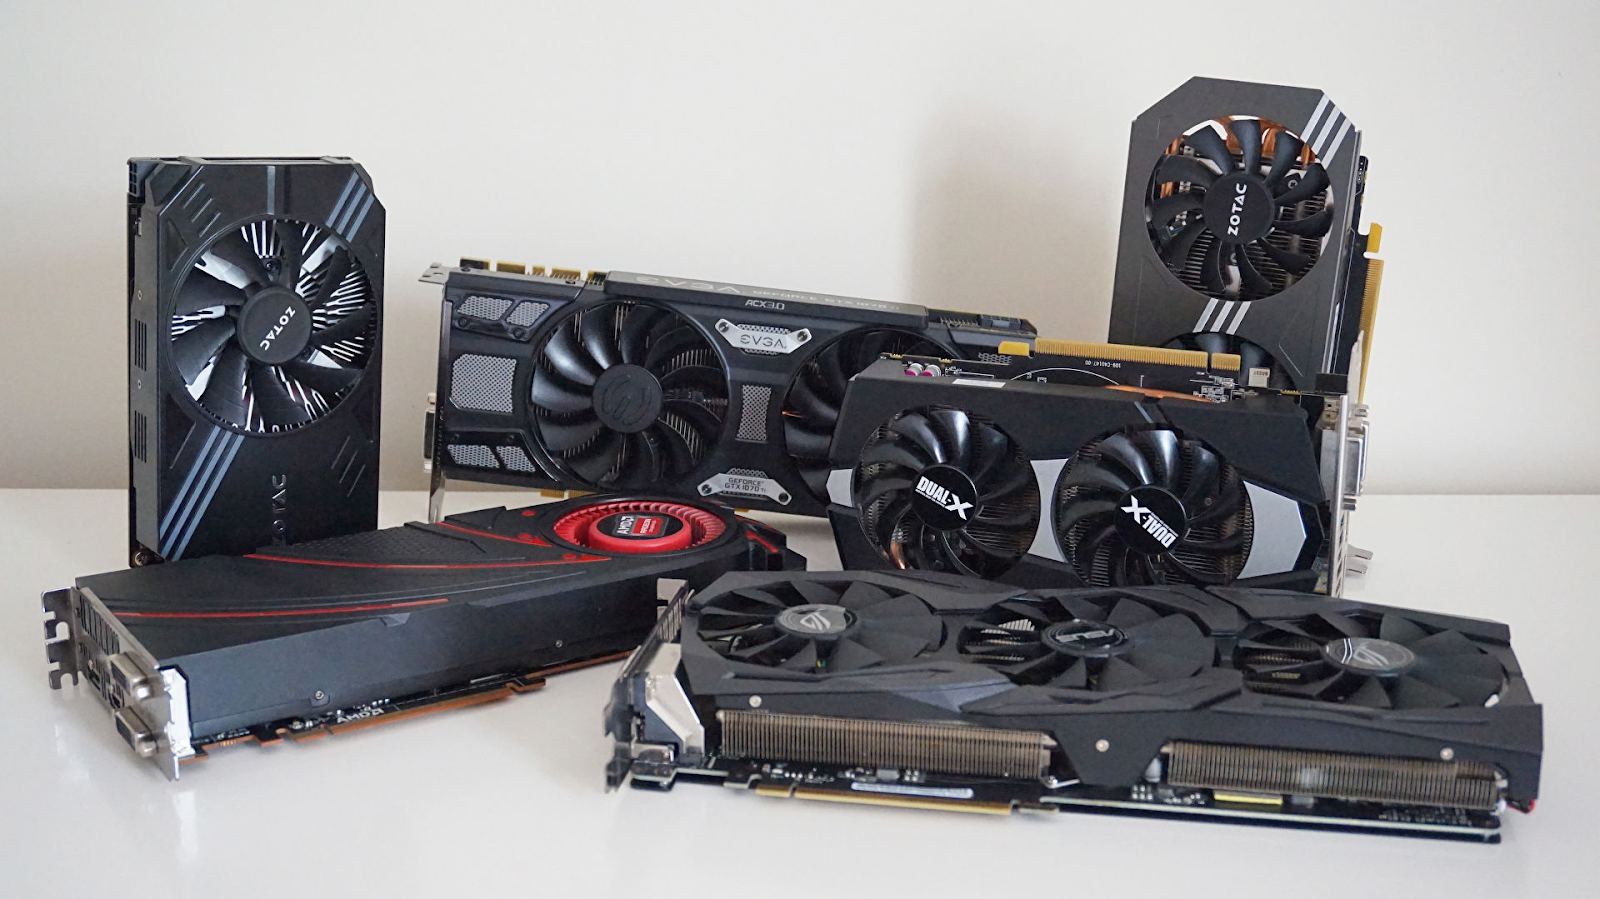
Initially, you’ll only need one GPU to begin mining, but in the future, you may want to consider adding more for efficiency and speed. Many miners recommend a minimum of six GPUs for optimal efficiency, though we recommend conducting your own research to find the number that’s best for you.
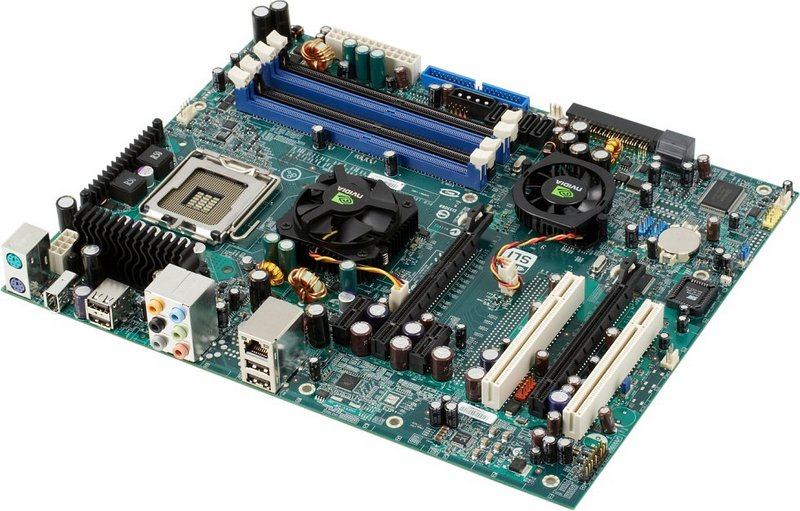
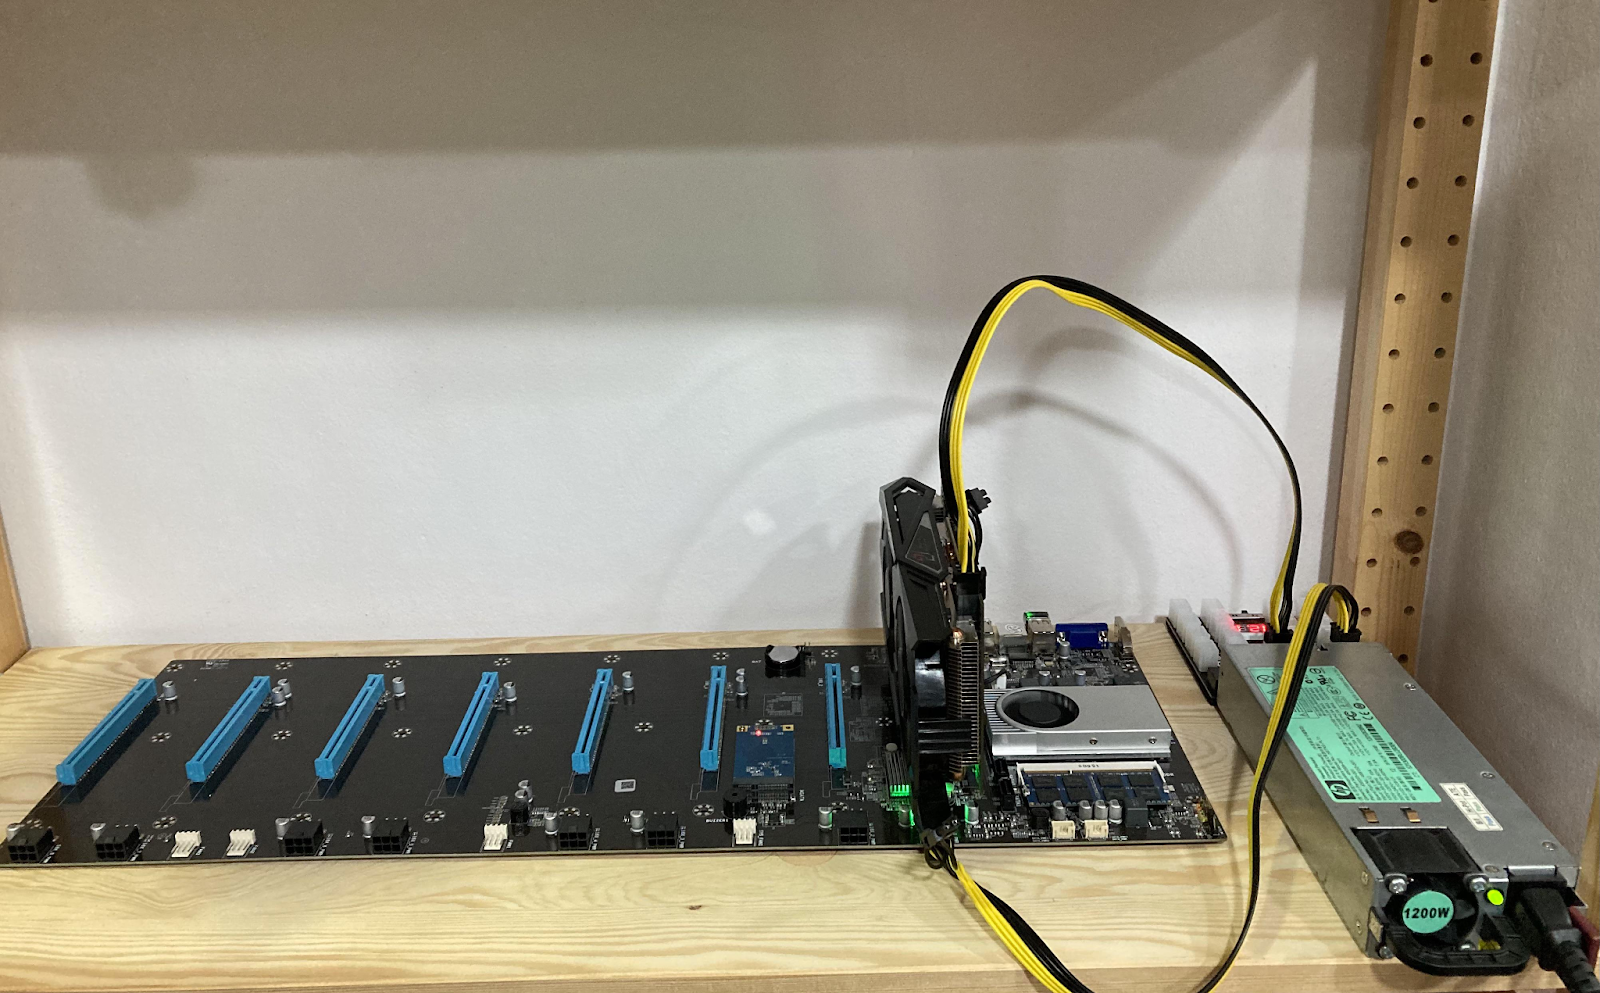
Motherboard
Next, you’re going to need a motherboard. When selecting a motherboard, it’s important to pay attention to the socket types and their compatibility with the other components in your rig. Also, make sure you choose a motherboard with enough sockets for the number of GPUs you intend to use. In addition, you will need some PCI-e risers to elevate the GPUs from the motherboard for ventilation.
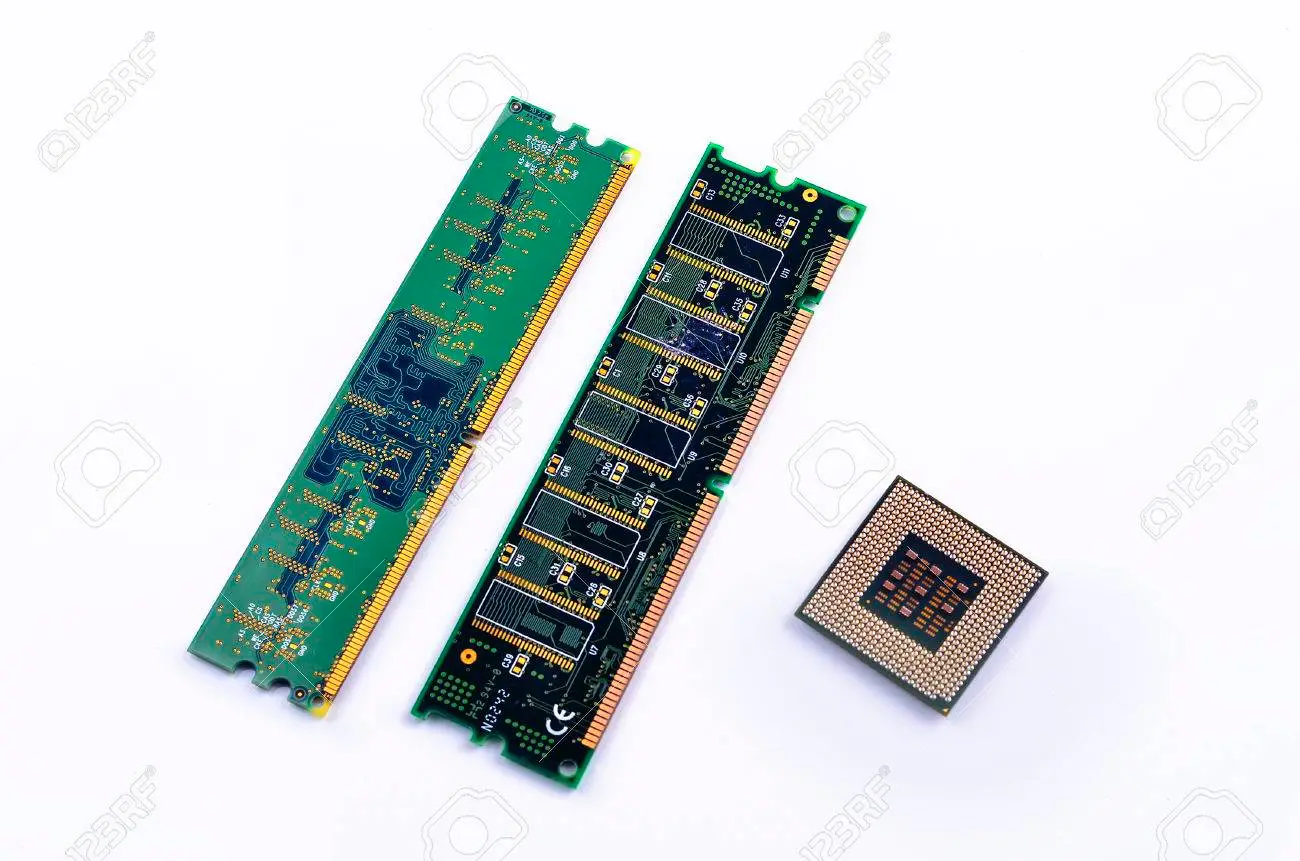
CPU and RAM
The third component is the central processing unit (CPU). Generally speaking, CPU mining requires extremely expensive CPUs. However, when mining with GPUs, you can use a fairly standard CPU. After this, you’ll need some random access memory (RAM). Again, RAM is somewhat less important than the GPUs, so don’t think you’ll need top-of-the-range RAM.
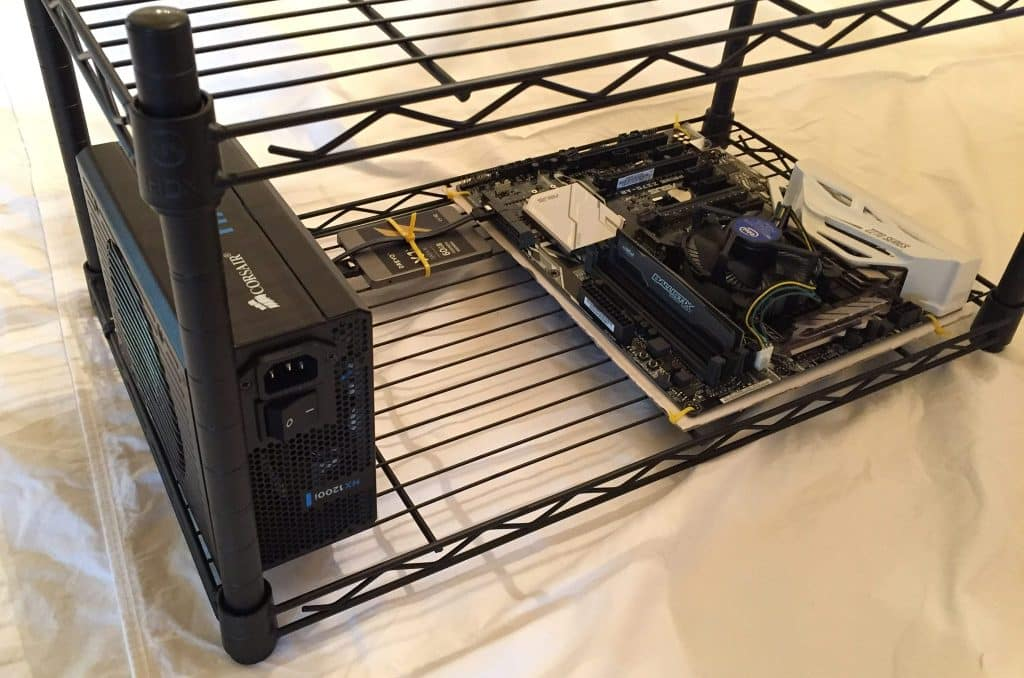
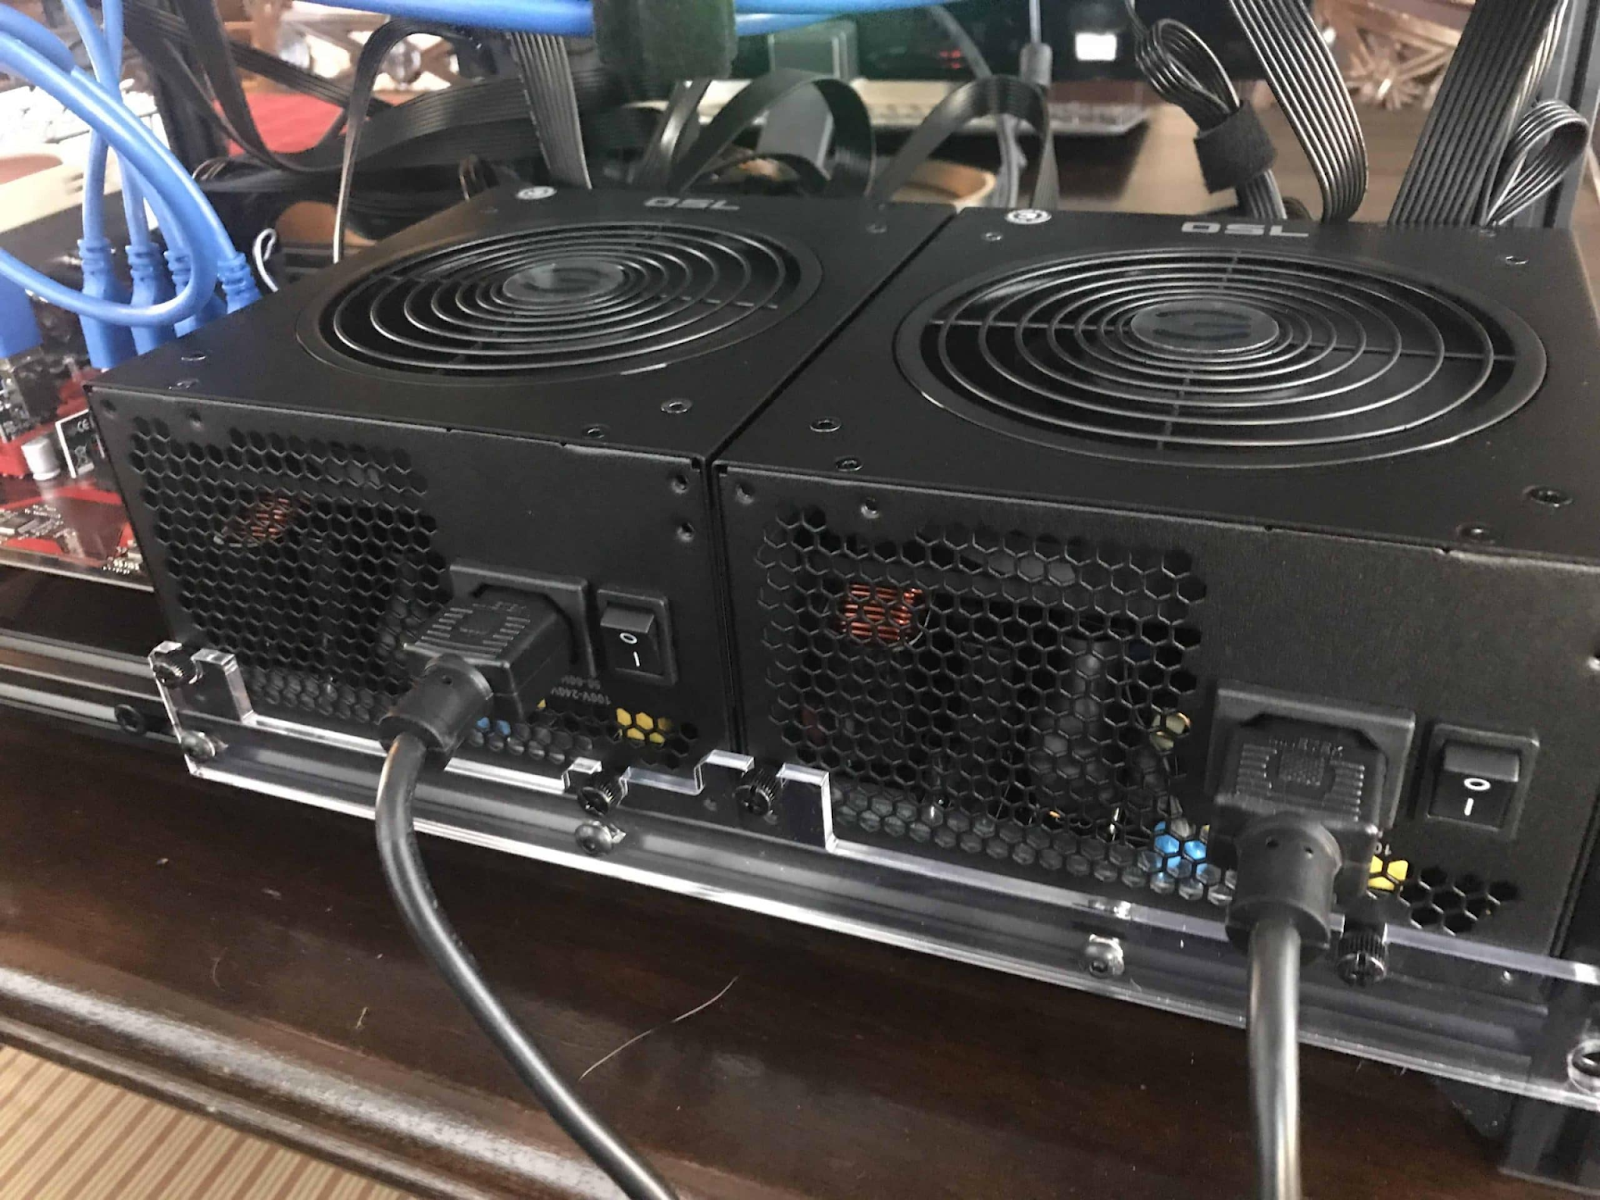
PSU and SSD
Another thing you’ll need is a power supply unit (PSU) to convert mains alternating current (AC) to low-voltage regulated (DC) power. Ideally, it’s worth considering something with at least a 1200 W platinum rating. Next up, your mining rig will need a solid state hard drive (SSD) or SATA SSD with a capacity of 240 GB or higher. Hundreds of brands are out there, so consider a reputable manufacturer within your budget.

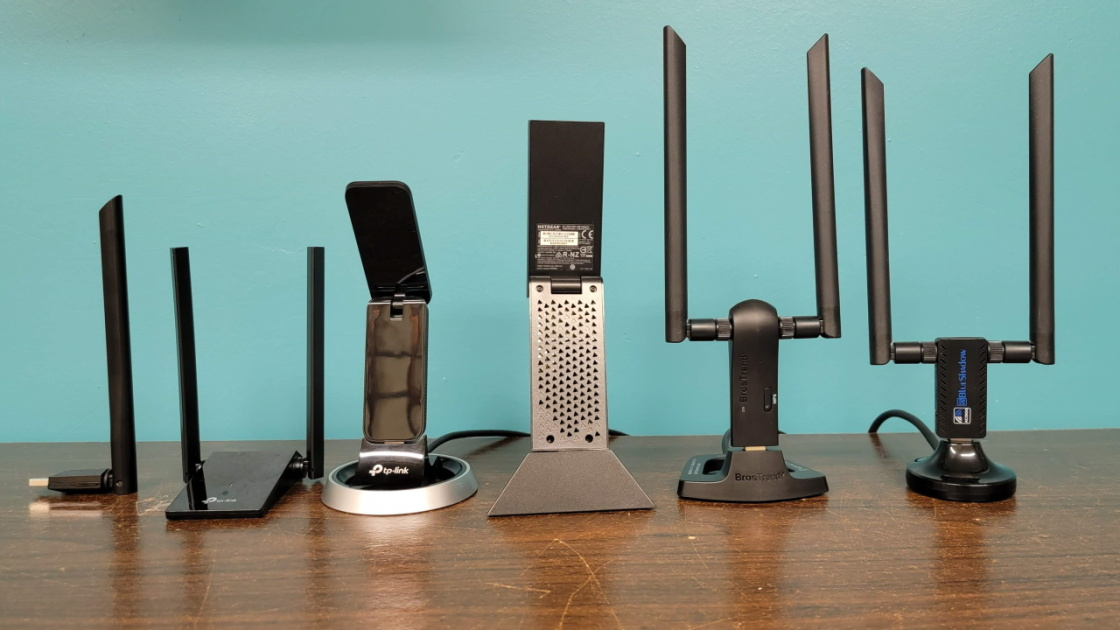
Connections
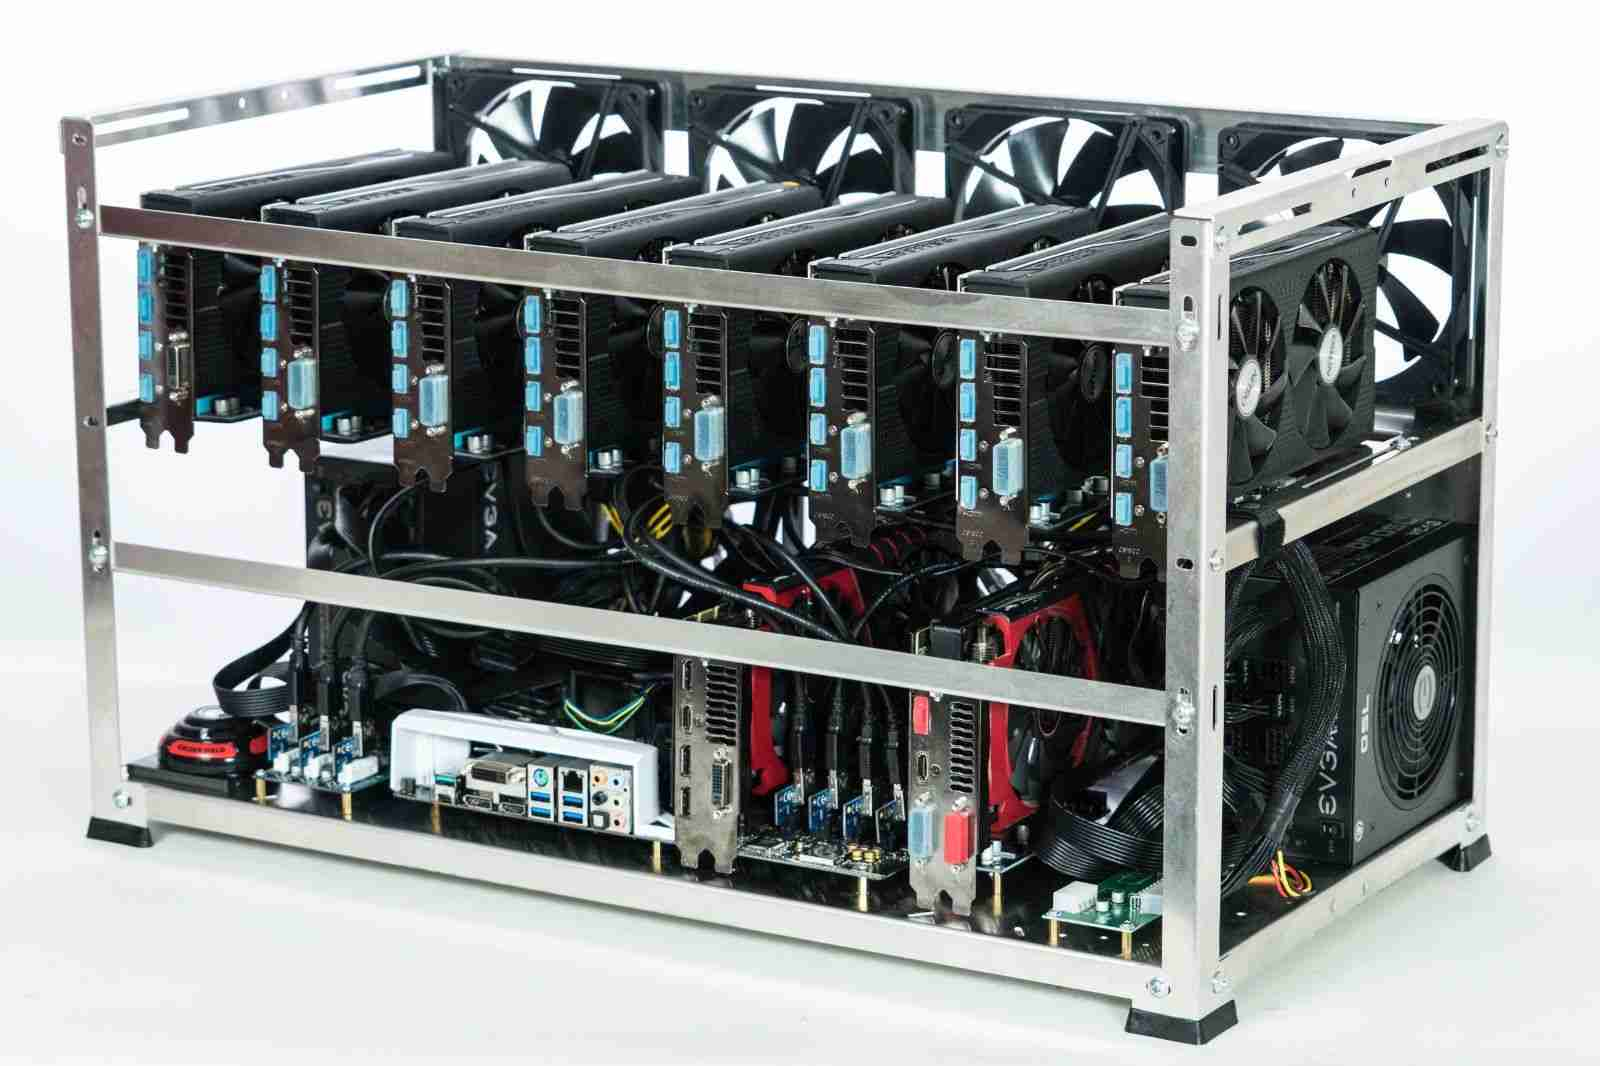
You’ll also need an ethernet cable and a USB Wi-Fi adapter/antenna to connect your mining rig to the internet. Once you have these components, you’ll need a frame to hold your rig together. You can make these yourself or buy one ready-made. Just make sure you select an option that can accommodate the number of GPUs you want to use.
You’ll also need some additional tools such as screwdrivers and zip ties to hold your rig together. Also, you’ll need a USB drive of at least 5 GB. However, that just about covers everything you need to start building your mining rig!
How to Build a Crypto Mining Rig
Now that you have all the components together, it’s time to learn how to build a crypto mining rig. Find a nice, quiet spot and make sure to clear enough space so you can work comfortably. Also, have any instructions at hand, and be sure to follow them carefully. In addition, you may want to consider leaving your coffee cup a few feet away from where you’re working to be on the safe side!
Attach the Motherboard
Start by attaching your motherboard to your mining rig frame. Ideally, this wants to be at the bottom of the frame or the outside on a separate frame. Some people even suggest putting an antistatic bag or additional casing beneath it. Always be careful when handling your motherboard and touch it as little as possible. Also, be sure to release the CPU socket protection lever before moving on to the next step.
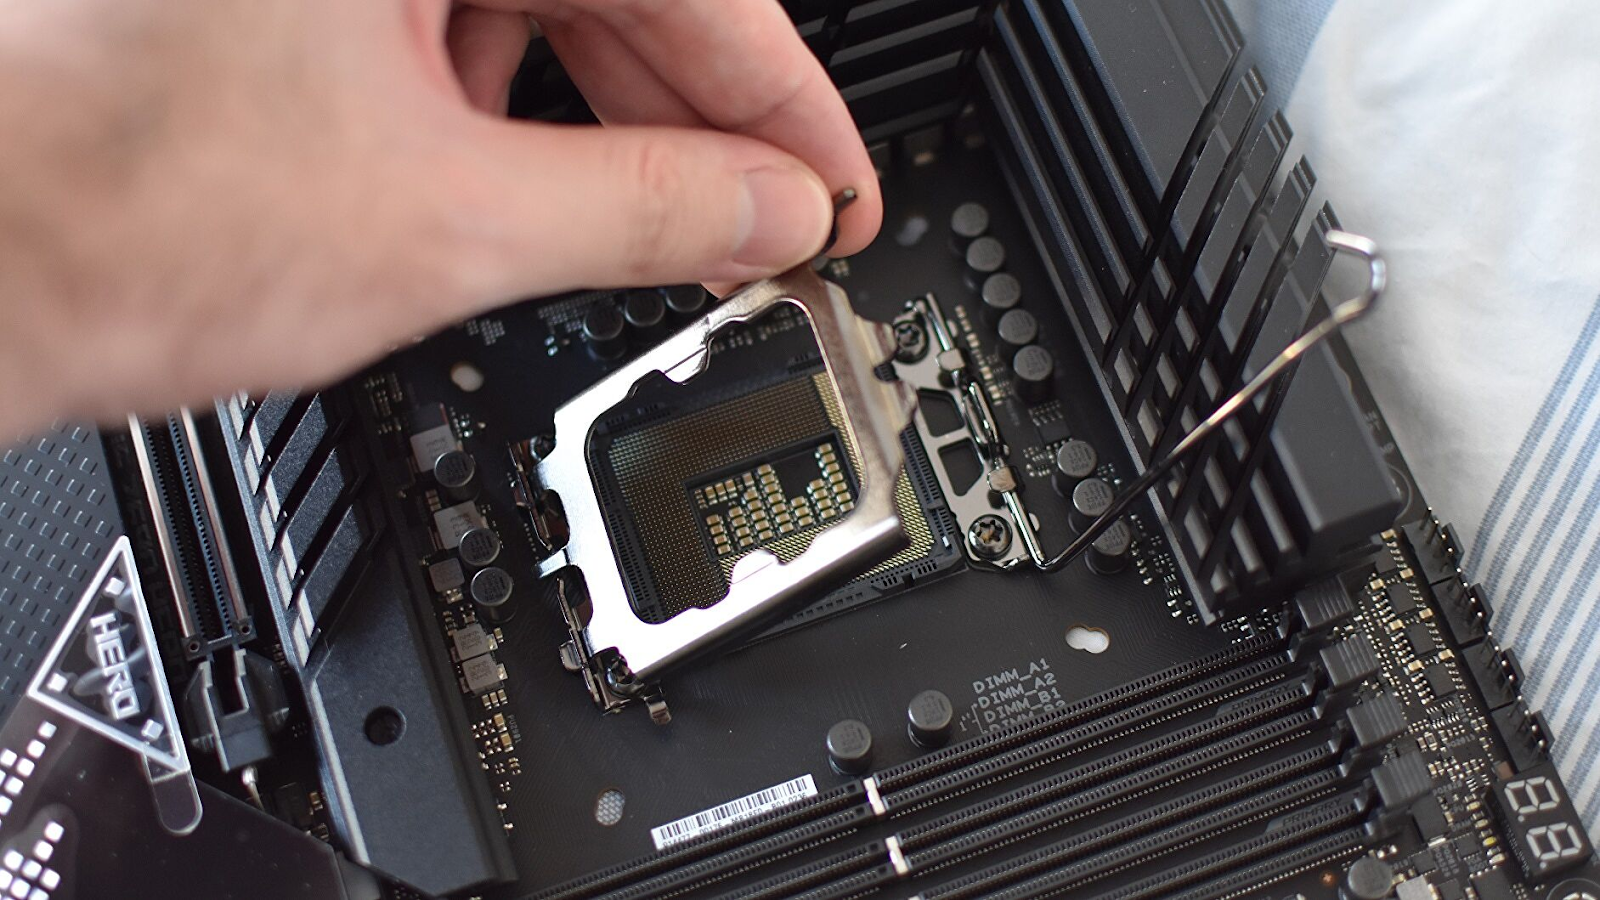
Attach the CPU to the Motherboard
After releasing the lever, it’s time to locate the CPU socket on your motherboard and insert your CPU. Watch out for any thermal paste on the CPU fan and set it aside for later. Now, when your CPU is in position, make a marking on both the CPU and the motherboard so that you can easily fit them in place and line them up without bending the small pins that connect them. Always have manuals at hand when fixing your mining rig together.
Once you’ve made your markings, it’s time to install the heatsink on top of the CPU. This will help to stop your mining rig from overheating. Take the thermal paste you set aside earlier and apply it to the surface of your heatsink. Attach your CPU to the motherboard and connect the heatsink power cable to the first “CPUFAN” or “CPU_FAN1” pins as per the manual.
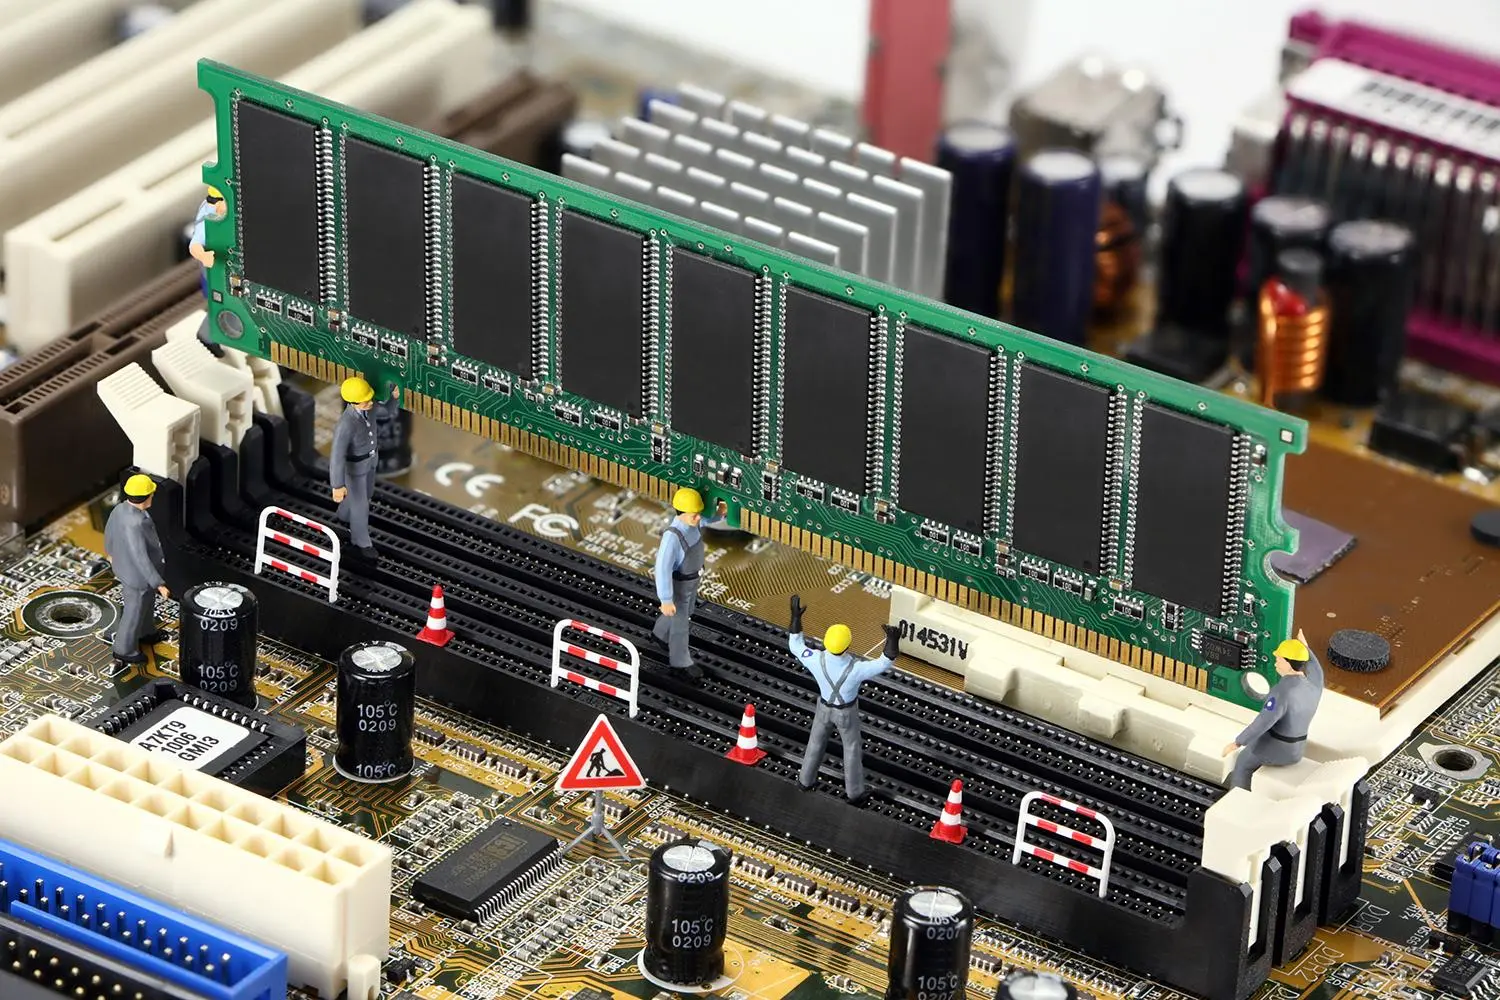
Install the RAM
After attaching the CPU, you’ll need to attach the RAM module to the RAM socket on your motherboard. Open the side brackets of your motherboard and gently insert the RAM module into the RAM socket. Most side brackets will automatically lock the RAM in place once it has been correctly installed.
Fix the Motherboard to the Frame
When attaching the motherboard to your frame, take extra care not to scratch the bottom of your motherboard. The only parts of your motherboard that should be in contact with the frame are when the screws attach them together. Once you’ve tightened the screws, it’s time to move on to the next step.
Fix the PSU
Fix your PSU to the mining rig somewhere near the motherboard and attach it to the motherboard using the 24-pin connector. Be sure to connect the PSU firmly to the motherboard to ensure it boots correctly.
Install the USB Risers
USB risers help to maximize ventilation on your mining rig. Depending on the type of risers you choose, you may need either a PCI-e six-pin connector, a SATA cable, or a Molex connector. Take extra care when connecting the USB risers to the corresponding power cables. Also, consider a daisy chain with up to two Molex or SATA connectors per riser to prevent overpowering them with a power cable on each riser.
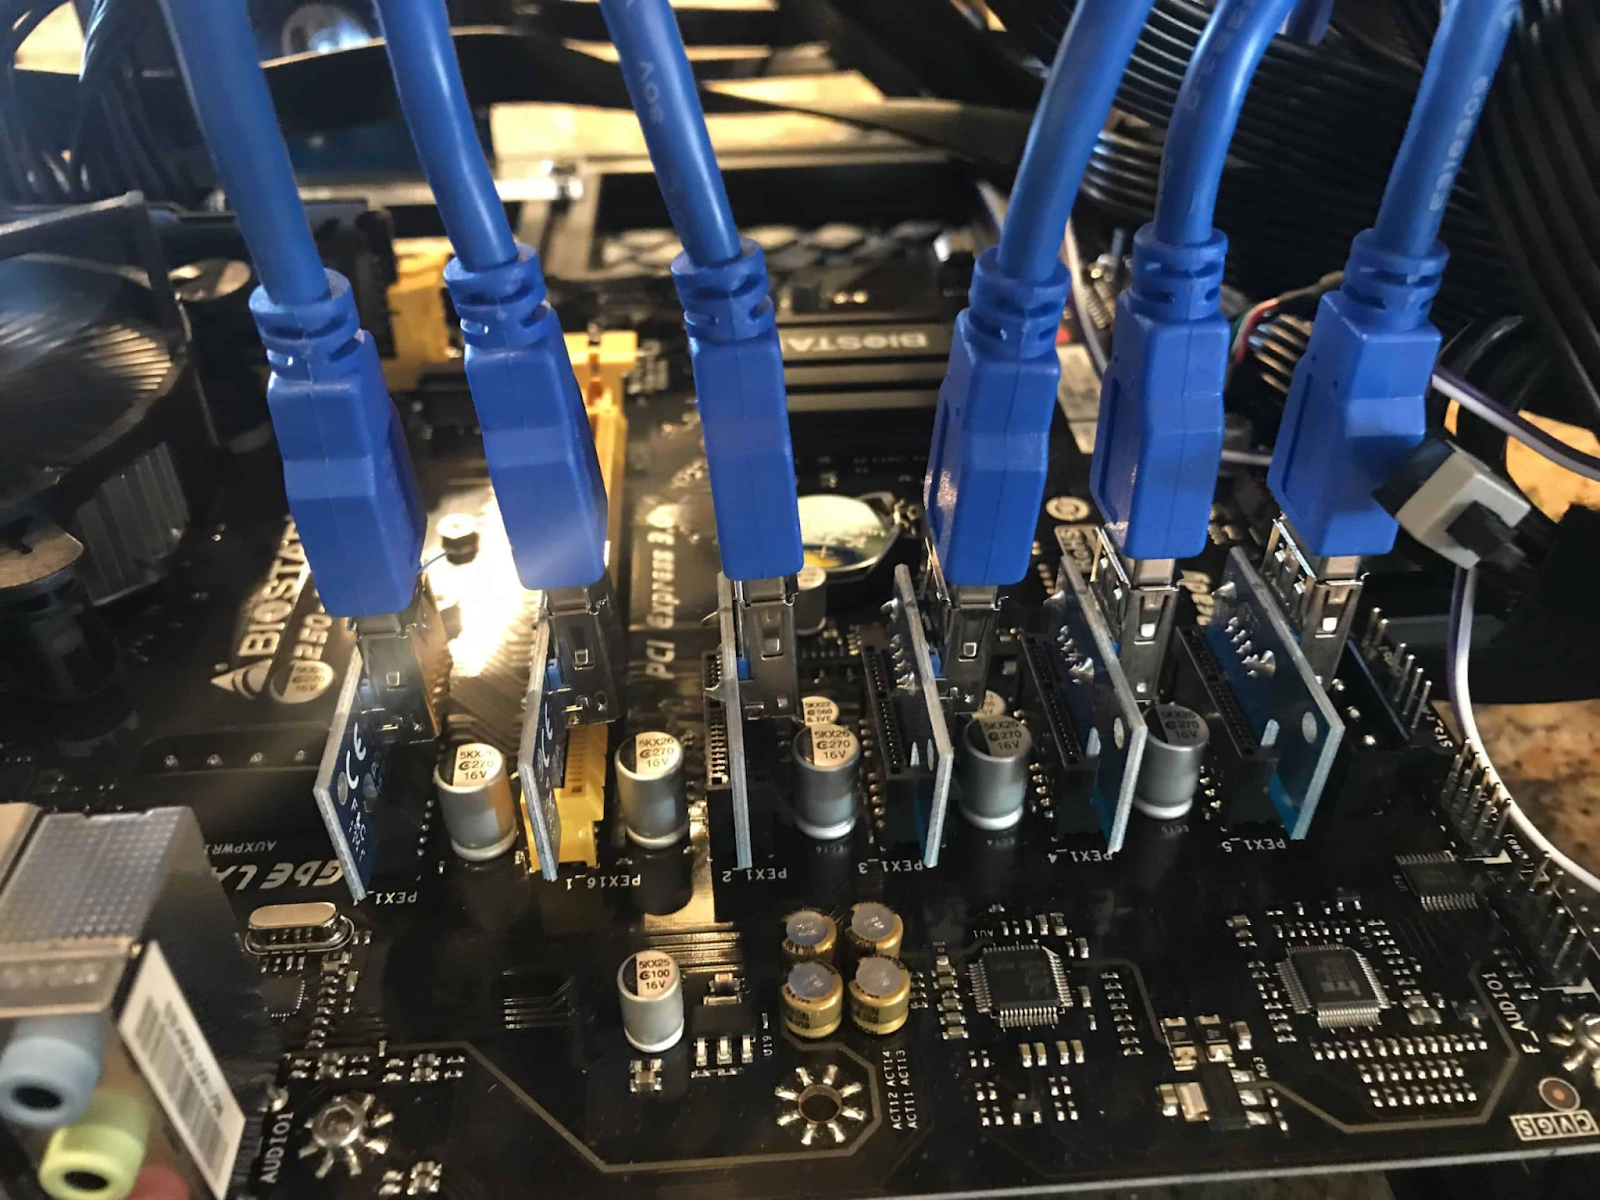
Fix the GPUs
Next, attach your GPUs to your mining frame via the USB risers. Connect the PCI-e connectors to the first GPU. Once the GPU fits correctly, you can connect the monitor, mouse, and keyboard and connect the power outlet to the corresponding pins on your motherboard. Always check the manual if you’re unsure. Also, you only need to connect one of the GPUs at this stage. Once the basic input/output (BIOS) configuration is complete, you can connect the rest of the GPUs.
Configure BIOS
If the BIOS configuration message appears on your monitor, you know that your mining rig is correctly fitted. Each BIOS will vary depending on the motherboard. However, pressing F2 or DELETE on your keyboard will enable you to access BIOS when booting your mining rig. Pressing F7 will allow you to enter “Advanced Mode”. In the “Advanced” tab, make the following changes:
- – System Agent (SA) Configuration, DMI/OPI Configuration, change DMI Max Link Speed to Gen1
- – System Agent (SA) Configuration, PEG Port Configuration, change every instance of PCIEX16_x to Gen1
- – PCH Configuration, disable all SATA devices with no SSD
- – PCH Configuration, PCI Express Configuration, set PCIe Speed to Gen1
- – Onboard Devices Configuration, disable HD Audio Controller
- – APM Configuration Settings, turn on Restore AC Power Loss
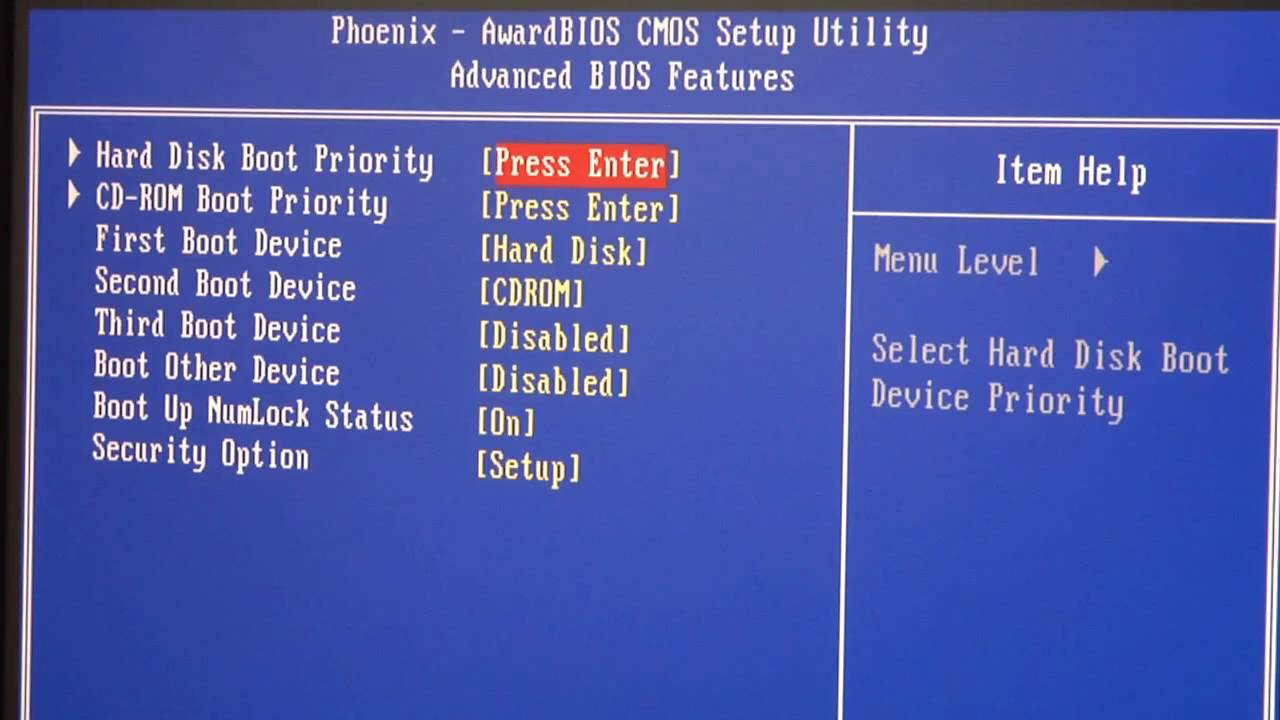
Now navigate to “BIOS Boot Settings” and disable “Fast Boot”. Next, enable decoding above 4G and insert the USB stick into the motherboard.
Install the Mining Rig
In this example, we’ll be showing you how to install your rig on Windows 10. When you turn on your CPU, ensure that you disable Cortana, OneDrive, or any other cloud storage service. Also, switch off personalization tools such as relevant adverts and location services. The monitor should tell you that files are “copying” or something to that effect.
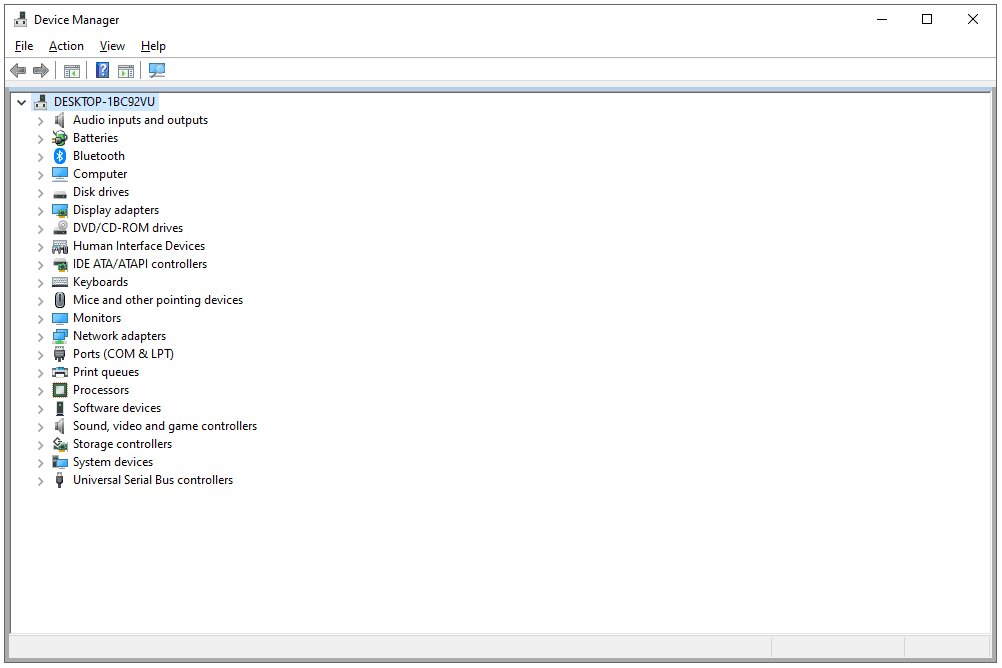
Upon completion, the mining rig should automatically reboot. After this, you’ll need to log in to Windows and open “Device Manager”. Find your GPU and install any updates. You’ll need to install the latest drivers for your GPUs. After downloading from the manufacturer’s website, right-click on the installer and run it as administrator. Next, you want to opt for a custom installation and deselect all options except the driver for your GPU. After this, you’ll be prompted to restart your machine.
Tweak Windows
After restarting, go to “System”, turn off notifications and actions, and turn the sleep setting to “never”. In the performance section, select “adjust for best performance” and turn off automatic page file size management. Also, turn the initial and maximum sizes to 16384 MB. Next, navigate to the “About” menu. You may need to close some of the previous menus to access this. Now, you may want to consider switching off automatic updates to prevent downtime when mining.
Install Remaining GPUs
Ensure that your mining rig is switched off with no power going into it from the PSU when installing the remaining GPUs. Attach the riser card and GPU in the nearest available slot. Next, attach the riser card to the motherboard and turn the rig on via the PSU. From here, you’ll need to navigate to “Device Manager” and go to “Display Adapters”. If you don’t see the name of your GPU, try refreshing the page. Failing this, safely power down your machine and check every connection from the previous step. Also, fixing each GPU one at a time will help you isolate any problematic connections.
Problem Solving When Building a Crypto Mining Rig
One of the most common problems people run into when figuring out how to build a crypto mining rig in this way is ensuring that Windows Device Manager recognizes the remaining GPUs. Sometimes the names can appear differently or display an error or warning icon. If this is the case, try disabling and then enabling the device. After this, you can update the driver for your GPUs. If this doesn’t work, go back and check each individual connection with your machine powered off.
How to Build a Crypto Mining Rig – Summary
Crypto mining profitability varies greatly from region to region. Ultimately, the price of electricity will be one of the most significant factors in whether or not this endeavor is profitable. However, another significant fact is the type of cryptocurrency you decide to mine. Also, the more computing power you have in your mining rig, the more profitable it’s likely to be. Accordingly, some cryptocurrencies will be more profitable than others depending on other miners and the equipment your competition is using. As mentioned above, this mining rig will work with various prominent cryptocurrencies. As such, the downloading and installation of client software will depend on the crypto you decide to mine.
After reading this article, you should have a firm understanding of how to build a crypto mining rig. Learning how to build a crypto mining rig enables you to contribute to the Web3 movement. Remember, take your time and always keep instruction manuals at hand. If you have access to cheap, clean, renewable electricity, crypto mining could be a viable passive income stream.
If you want to learn more about blockchain and cryptocurrency mining, check out the Blockchain and Bitcoin Fundamentals course at Moralis Academy. Also, you can find out how the Bitcoin network remains secure with our Bitcoin Vulnerabilities course. In addition, check out our “Top 5 Crypto-Friendly Countries” and “MetaMask Tutorial” articles to further expand your blockchain knowledge!


